When it comes to cooking, some people are very instinctual. Like my husband, for instance. He can look through the pantry at the available ingredients and spontaneously throw together something amazing and delicious. He’s the one who introduced me to the idea that food that wasn’t dessert could be tasty and satisfying and not just there to keep your body alive. I am not an instinctual cook, though I’m working to hone my skills. I am the kind of person who has to follow a recipe to the T. It often takes me 2-3x longer than the estimated time printed at the top of the recipe to make a dish. I work VERY slowly and deliberately, checking and rechecking the recipe several times at each step to make sure I remember what to do. (Maybe this says more about my working memory). I am getting a little more adventurous in the salad dressing making department (a pretty safe space for experimentation), but that’s a topic for another time.
This post is about three homemade, from-scratch foods that I’ve made so many times that I actually barely even reference a recipe! You may wonder why I chose to cover three recipes in one post. It’s because for me, they all go together. I absolutely hate it when I start to follow a recipe and discover that one of the ingredients was something I should have already prepared ahead of time. You mean I was supposed to study for this test!?!
For these three recipes, I planned ahead. I made them all the same week. I generally try to plan out meals a week out, though this usually means I’ve just selected the recipes and purchased the ingredients, not that I have a well-thought out plan and timeline for their preparation. But my plan for this particular week was actually pretty organized.
Day 1: Homemade Yogurt
(Note: This recipe does not actually take an entire day. I just chose to do this step separately).
What I used:
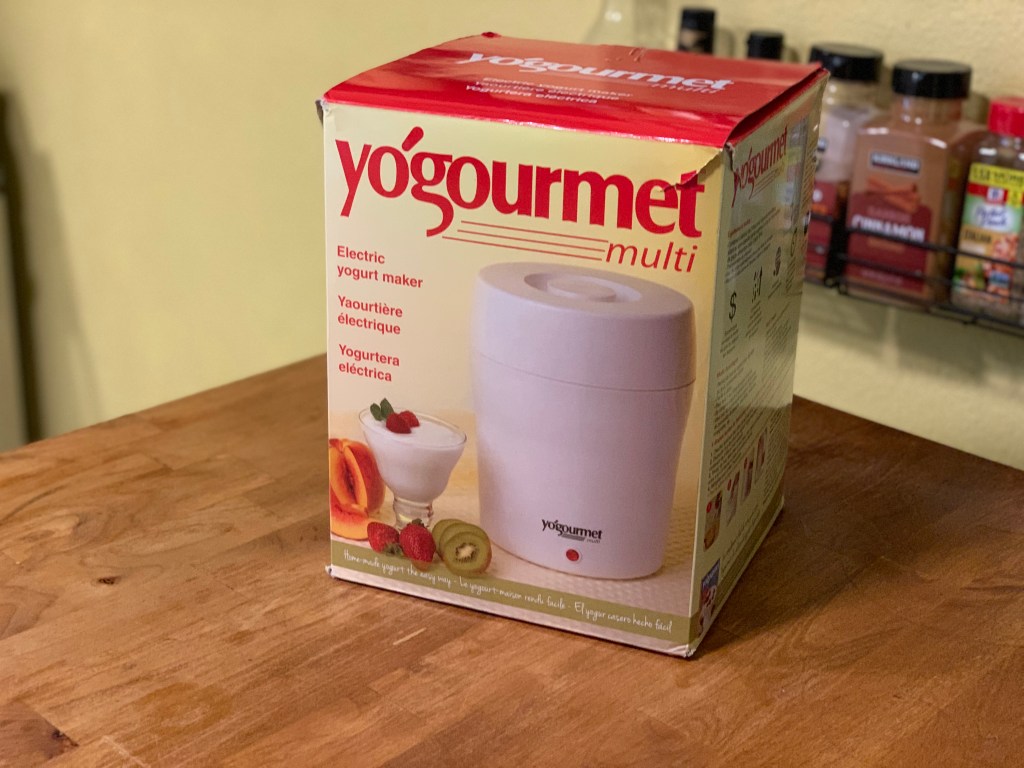
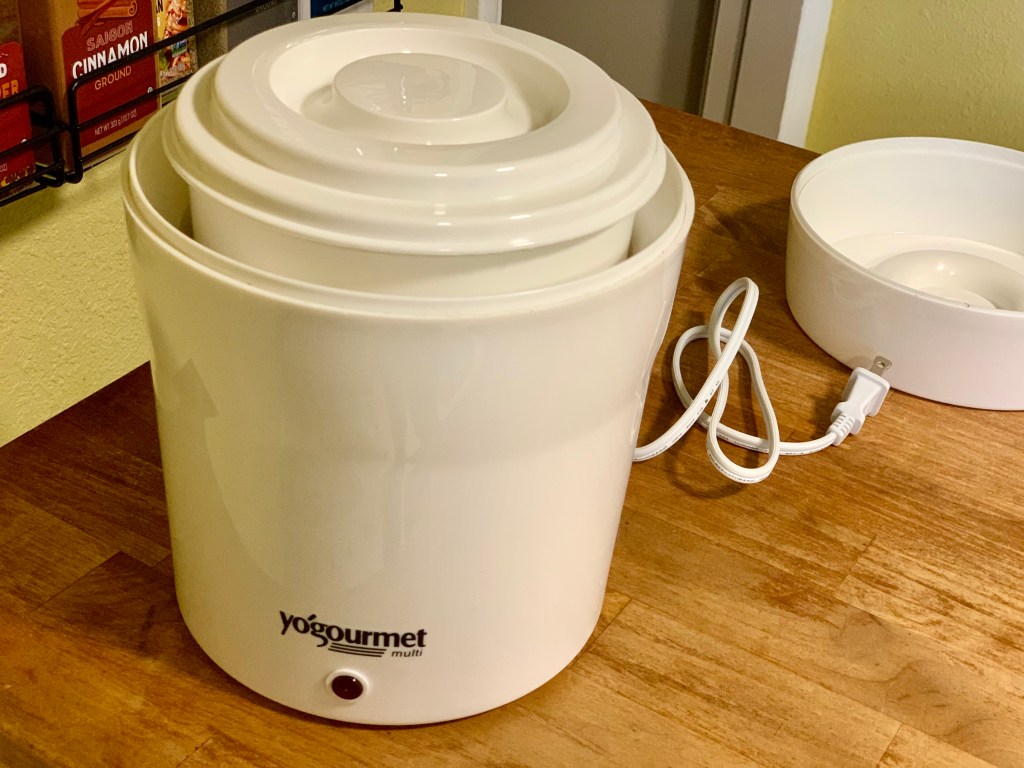
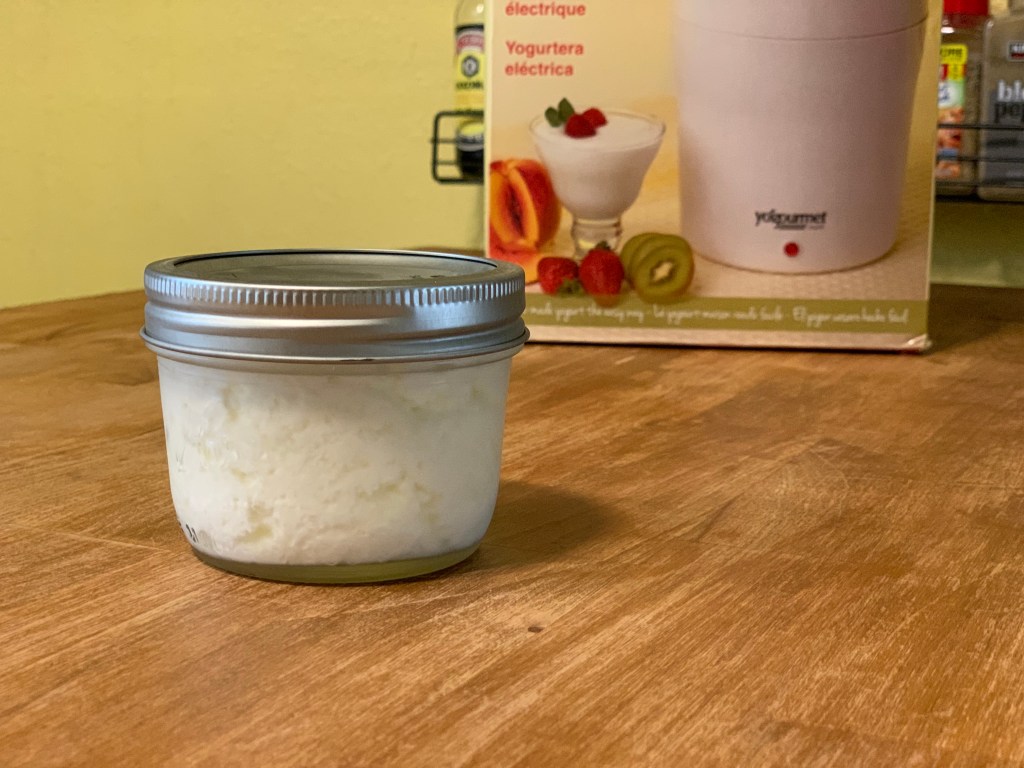
- a yogurt maker (Honestly, it’s just an electric tub that works like an incubator and keeps the yogurt mixture at a constant temperature. There are other methods to achieve this, if you don’t want to add another space-taking appliance to your kitchen. I just happened to get one for Christmas one year and like to actually use it.
- a heritage yogurt starter (You can buy yogurt starters online or in brew supply stores. The last time I bought one was a few years ago. I bought a heritage strain, which means that I can save a pint in a clean mason jar in the fridge from each batch, and then I just use that save amount as the starter for my next batch. So far, this has worked very well, though I’ve read that eventually you do need to replace the strain and start with a new one).
- one quart of pasteurized whole milk (I read that you want to use pasteurized and not ultrapasteurized milk for making yogurt. Surprisingly, not every grocery store has this option. And even more surprisingly, the pasteurized milk has been the cheaper option, in my experience).
- a sauce pan (like 4 quarts?)
- a cooking spoon for stirring
- thermometer (Mine came with my yogurt maker and clips to the side of my sauce pan).
- cheese cloth (& strainer, optional) (I actually didn’t use either of these the first few years I made yogurt, but I recently started so I could achieve a yogurt that had a more solid consistency).
- a small bowl (for pre-mixing the starter with some of the milk)
- a pint-sized jar w/ lid that seals (for saving the starter for your next round of yogurt making)
Steps:
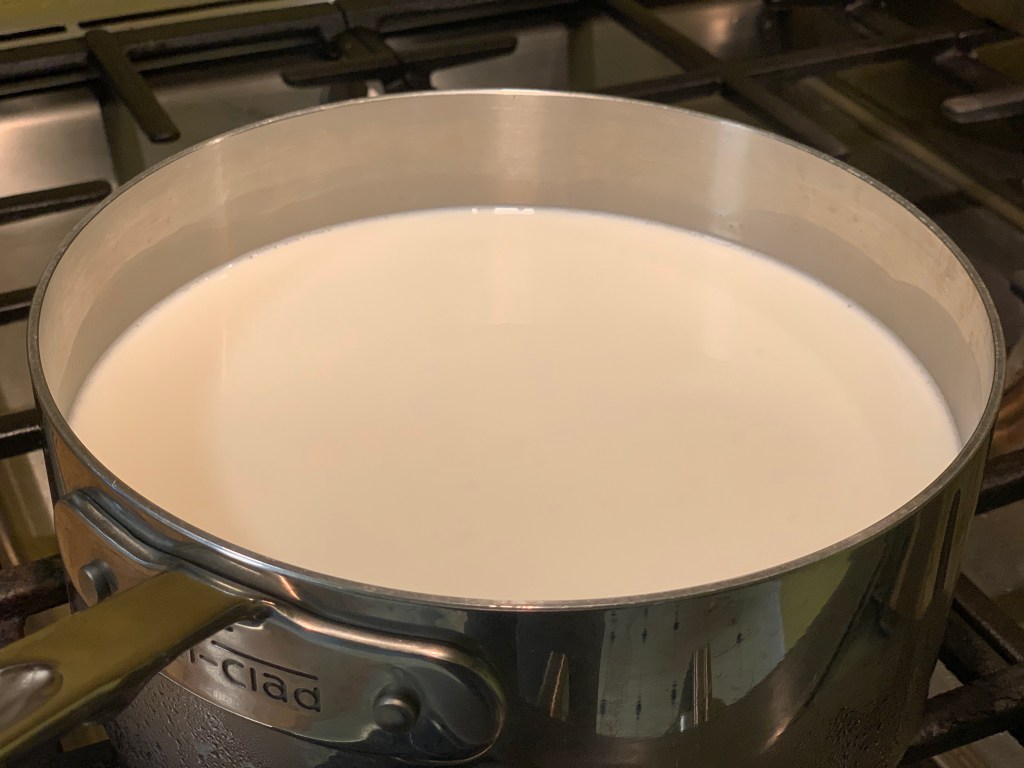
- Pour the quart of milk into the sauce pan and put on med-med/high heat on the stove. (I would caution against heating it too high, too quickly, as the milk will scald and burn, and that doesn’t sound very tasty. Also, if you’re like me and don’t like to babysit things on the stove, you’re less likely to accidentally let your milk boil over while you’re in the other room briefly vacuuming the rug during this step.) Stirring the milk every once in awhile is a good idea. If a skin (gross) forms on the top, I usually ladle it out and discard it (the skin, not the whole pan of milk). I also avoid scraping the bottom as I stir, because I don’t want any burnt skin mixed in with my yogurt.
- Bring the milk up to a boil or until it reaches 180°F. This is to kill off bacteria. Also, it affects the thickness of the yogurt (the longer the time you keep it at this temperature, the thicker the yogurt will be. So, sometimes I let it simmer at this temperature for 10-20 minutes, but I’ve found the process still works without doing this).
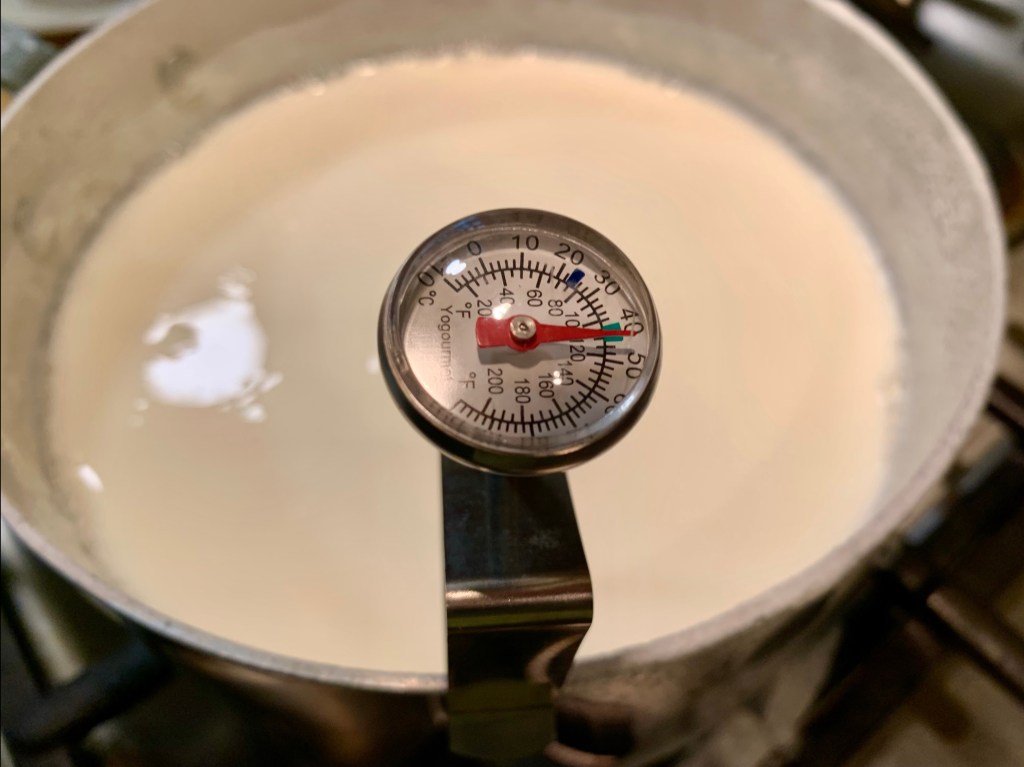
- Remove milk from heat and allow it to cool to the 108°F-112°F zone (on my thermometer this is noted as the green zone). I used to just leave the thermometer in the sauce pan during the entire cooling process until I discovered it can actually compromise the process and result in a bad reading. Insert the thermometer periodically to check the temperature. Don’t allow the end of the thermometer to touch the bottom of the pan, as that will result in a higher than accurate reading.
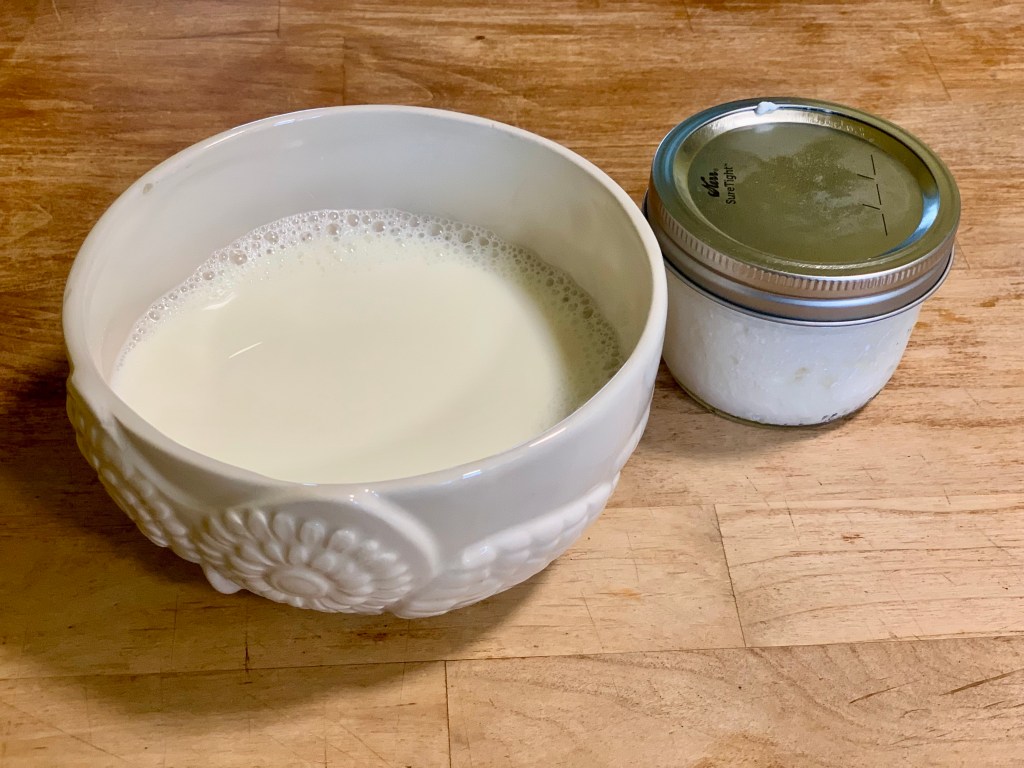
- Once the milk reaches “the green zone” (108°F-112°F), scoop about a cup’s worth of the milk into a small bowl. Add the yogurt starter (either packaged powder contents or the starter you saved from the last batch of yogurt) into the bowl and stir until the contents are fully combined.
- Pour the mixture from the bowl back in the sauce pan and stir to fully incorporate.
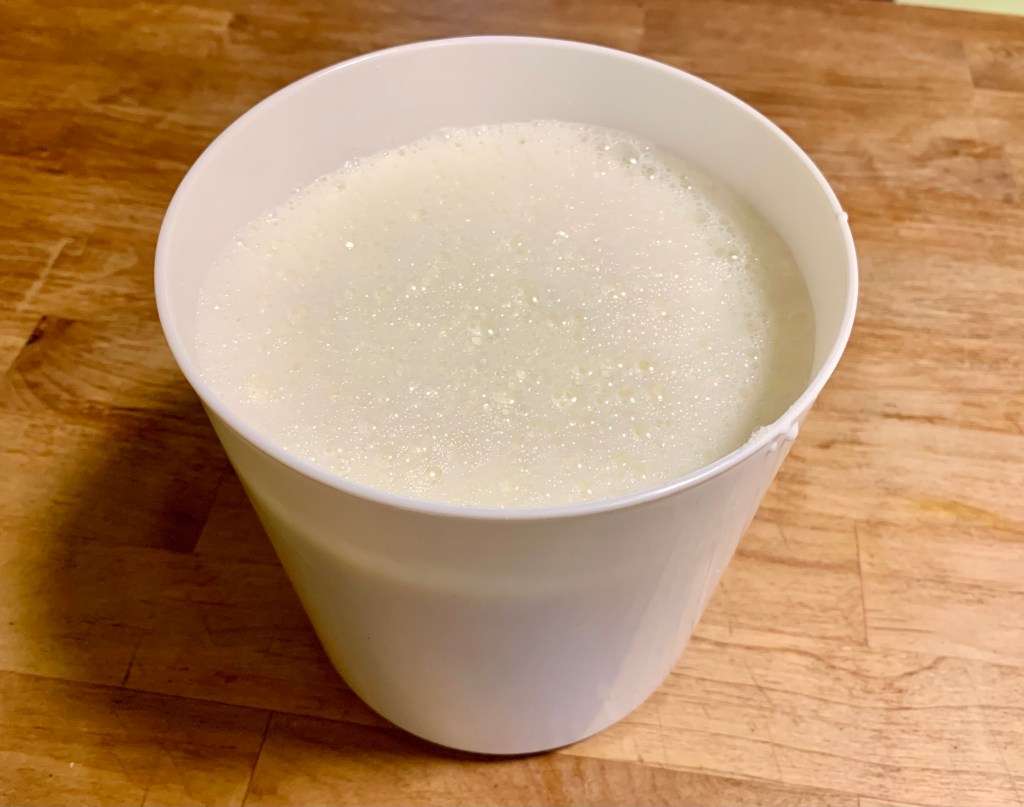
- Pour the entire contents of the sauce pan into the holding vessel/container of the yogurt maker.
- Pour tap water into the incubator (not the container with the milk) up to the line imprinted on the side (about 1/2 inch or so). Put the vessel with the yogurt mixture inside into the incubator (setting it into the water like you’re putting the container into its own little sensory deprivation chamber). Make sure the container has a lid on top and that the incubator does, as well.
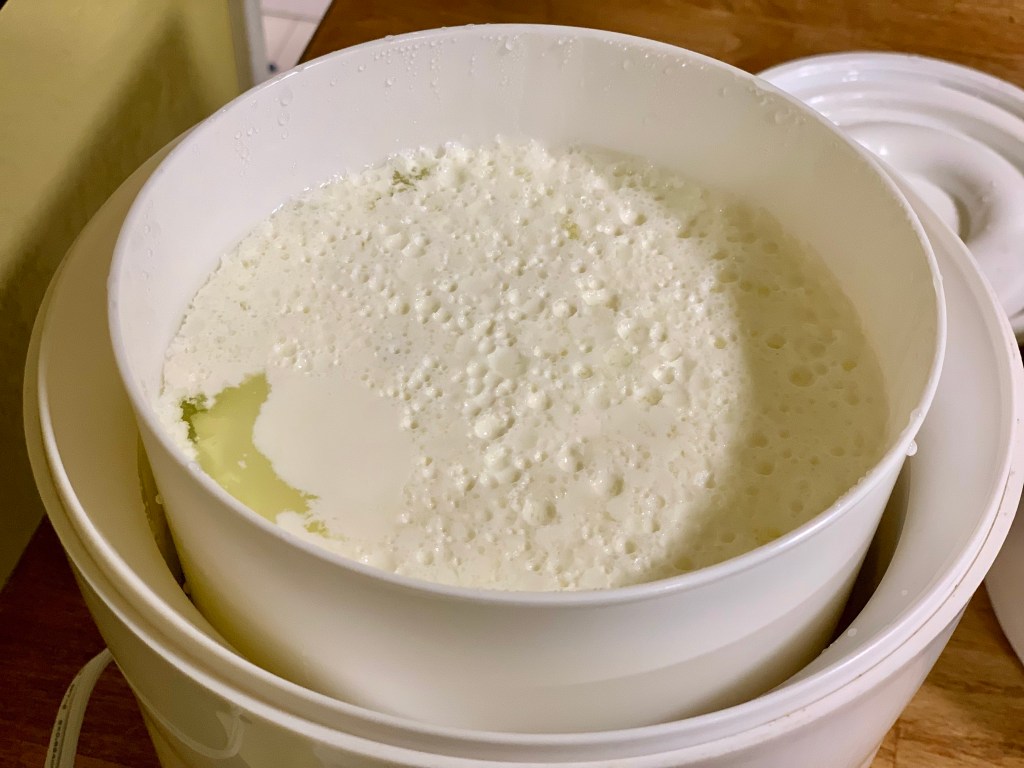
- Plug in the yogurt maker and allow the yogurt to incubate for 6-8 hours (my instructions say 4 hours, which is what I had always done in the past, but my further research recommends 6-8 hours to get a firmer yogurt).
- Refrigerate the yogurt after the incubation period.
- Optional: After refrigerating overnight, give the yogurt a more solid consistency by pouring it into a cheesecloth and draining the excess liquid (whey).
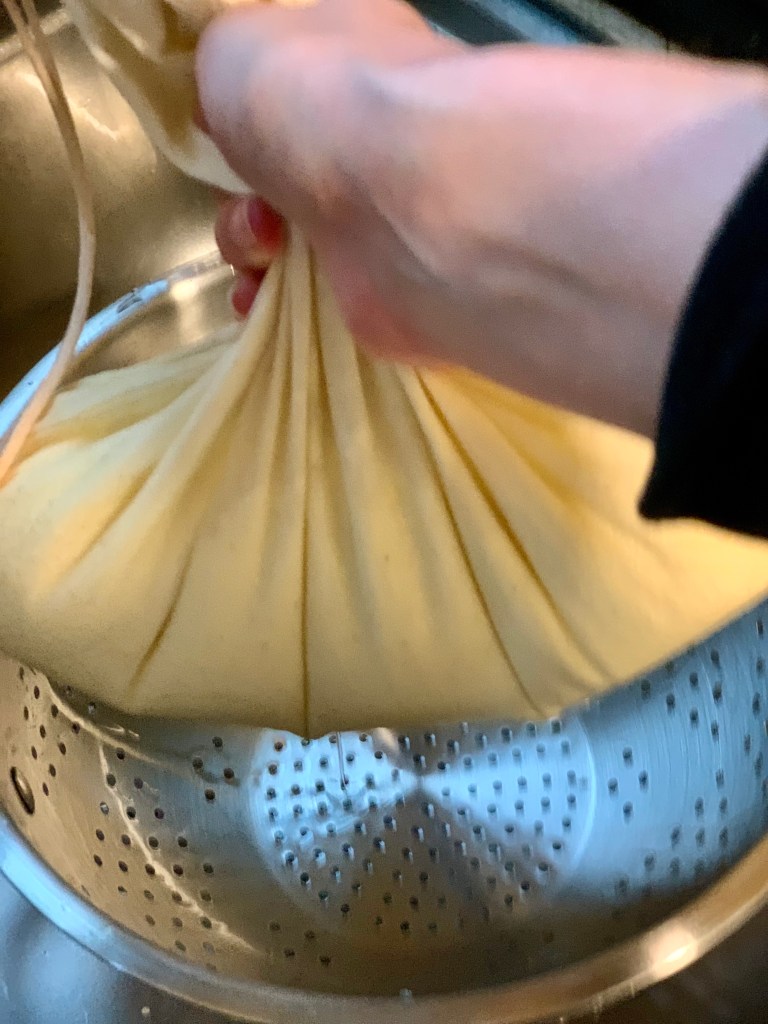
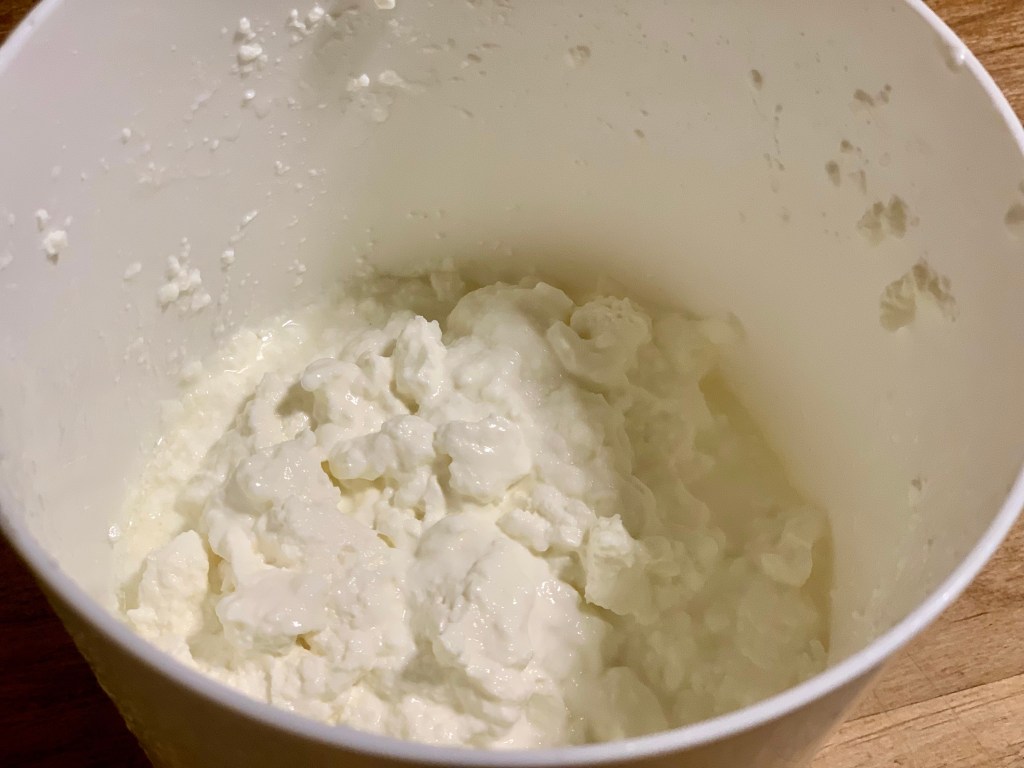
Congratulations! You made yogurt!
I like to eat plain yogurt with a bit of honey drizzled on top and some slices of fruit and bit of granola mixed in. I also like to use the yogurt as a sour cream substitute or when roasting a chicken or pot roast (see below).
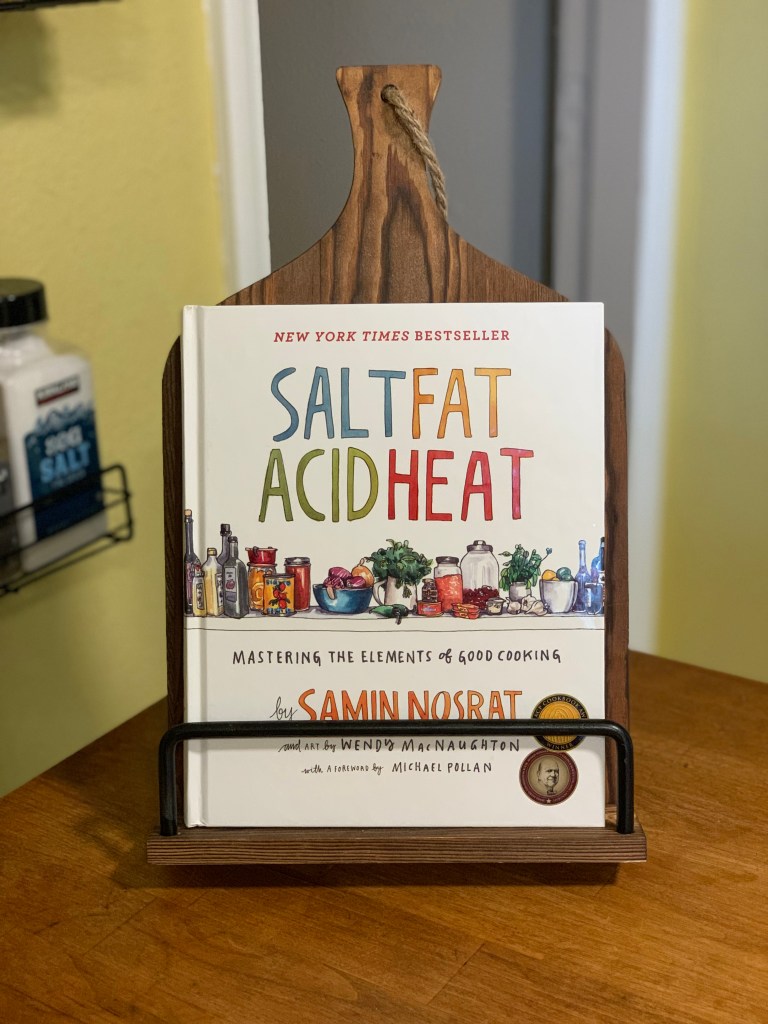
Roasted whole chicken marinated in yogurt
(developed from recipe in Salt, Fat, Acid, Heat by Samin Nosrat)
The original recipe calls for using buttermilk or yogurt. As I mentioned above, I make my own yogurt, so I prefer to use that.
Steps:
- Use a whole chicken (around 3lbs). Allow it to come to room temperature. Remove any organs from inside.
- Put about 1-2 cups of yogurt in a bowl. Add a few heaping pinches of coarse kosher salt and mix into the yogurt.
- Rub salt on the skin of the chicken, making sure to spread all over the outside of the chicken.
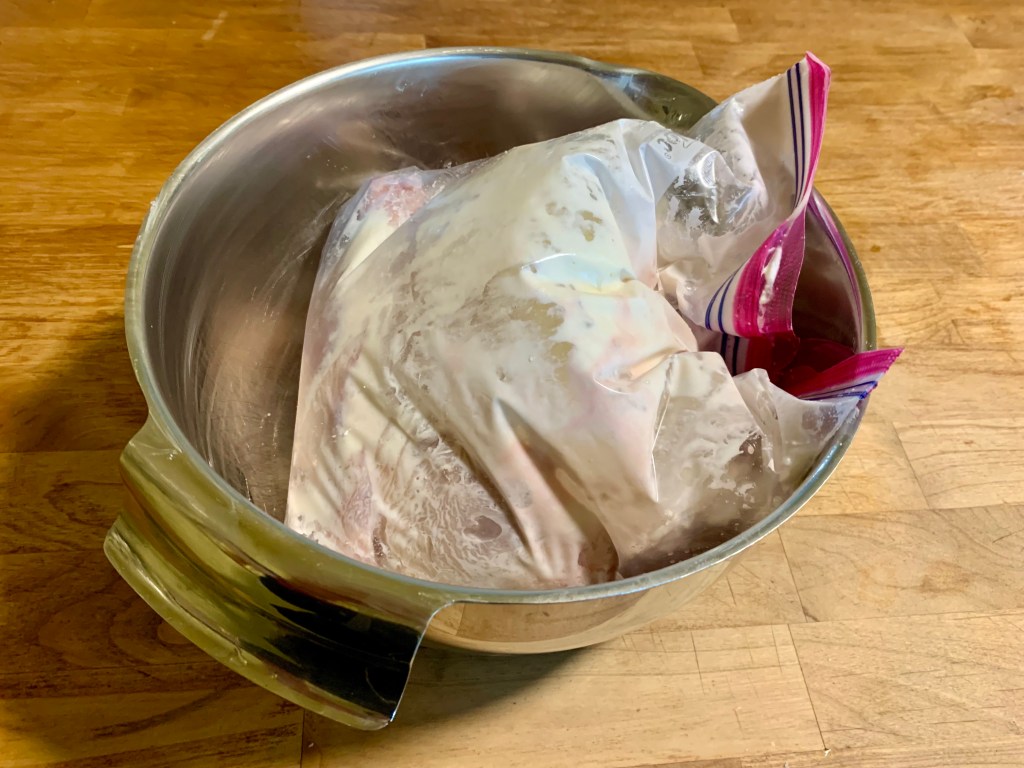
- Put the whole chicken into a large ziploc bag (gallon-sized). Pour the salty yogurt mixture into the bag and tilt the mixture so the chicken is covered in the yogurt. Seal the bag and place it in a bowl (in case of leaks).
- Store the chicken in the bag and bowl in the refrigerator for anywhere between a few hours to overnight. Flip the bag every once in awhile to allow the chicken to be completely covered in the yogurt from all angles. The yogurt marinade will tenderize the meat and create a delicious tangy crust when you roast the chicken, keeping the meat juicy and full of flavor.
Roasting the chicken
Steps:
- Remove the chicken from the refrigerator and take it out of the ziploc bag. Scrape off the excess yogurt (don’t go too crazy) and discard. Some remnants left behind are fine.
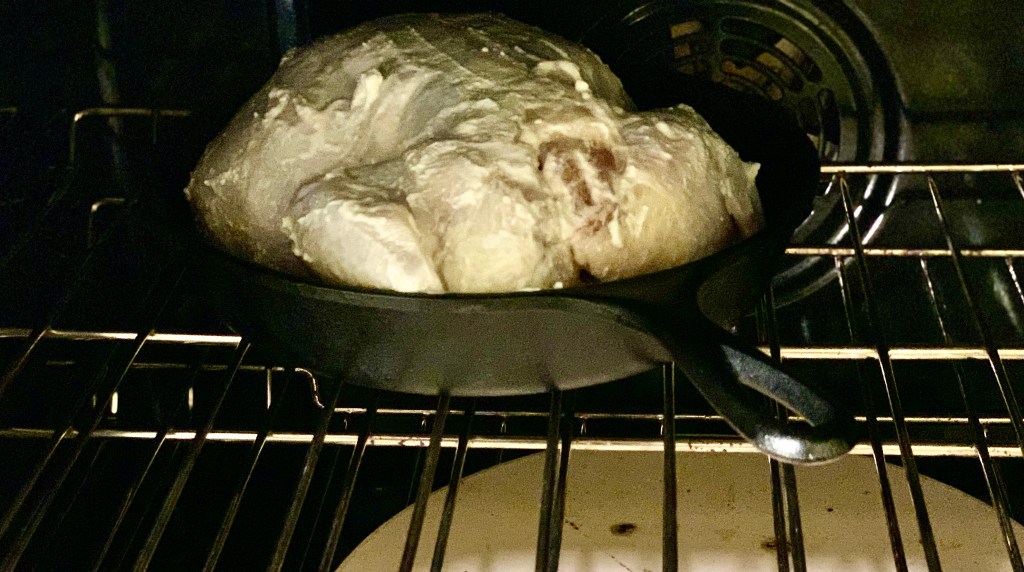
- Put the whole chicken in a cast iron skillet (or a roasting pan or oven-safe baking dish) with the legs pointing away from the handle and breasts toward the handle (breasts down). Let it come to room temperature.
- Preheat the oven to 425°F with a rack in the center position.
- Put the pan into the oven with the chicken legs pointing the rear left corner. (Why? you may ask: Well, the back corners are usually the hottest part of the oven, and with the breast pointed toward the cooler middle, you’ll be helping to keep it from overcooking before the legs finish cooking.)
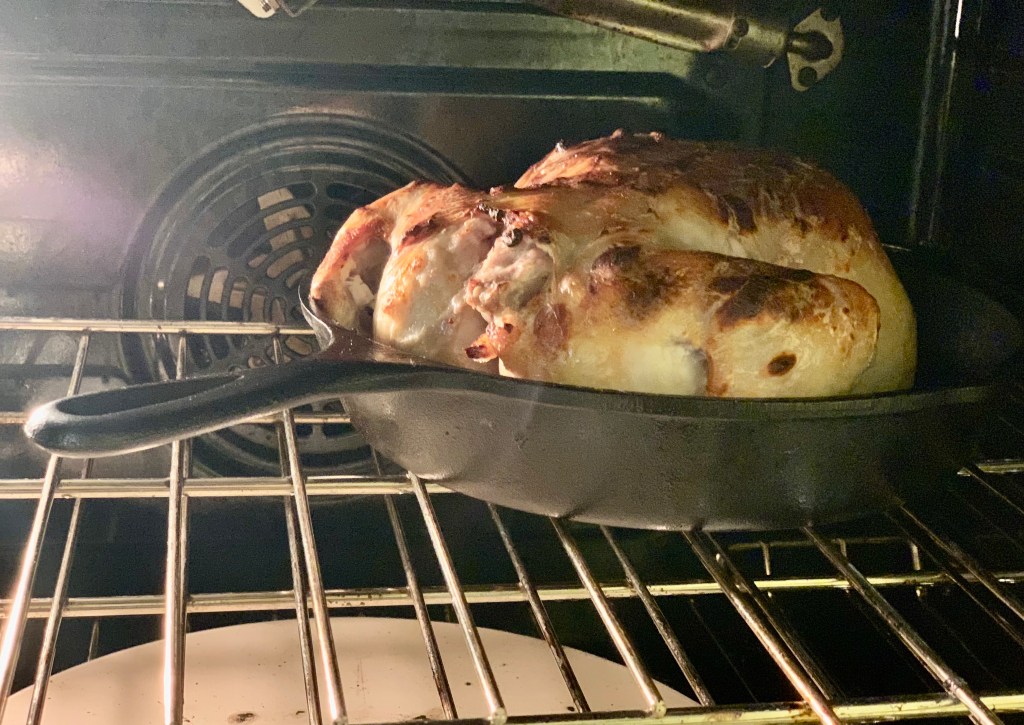
- The chicken will start sizzling, browning, (and smelling yummy) after about 20 minutes. Reduce the heat to 400°F and continue the roast in this position for 10 more minutes.
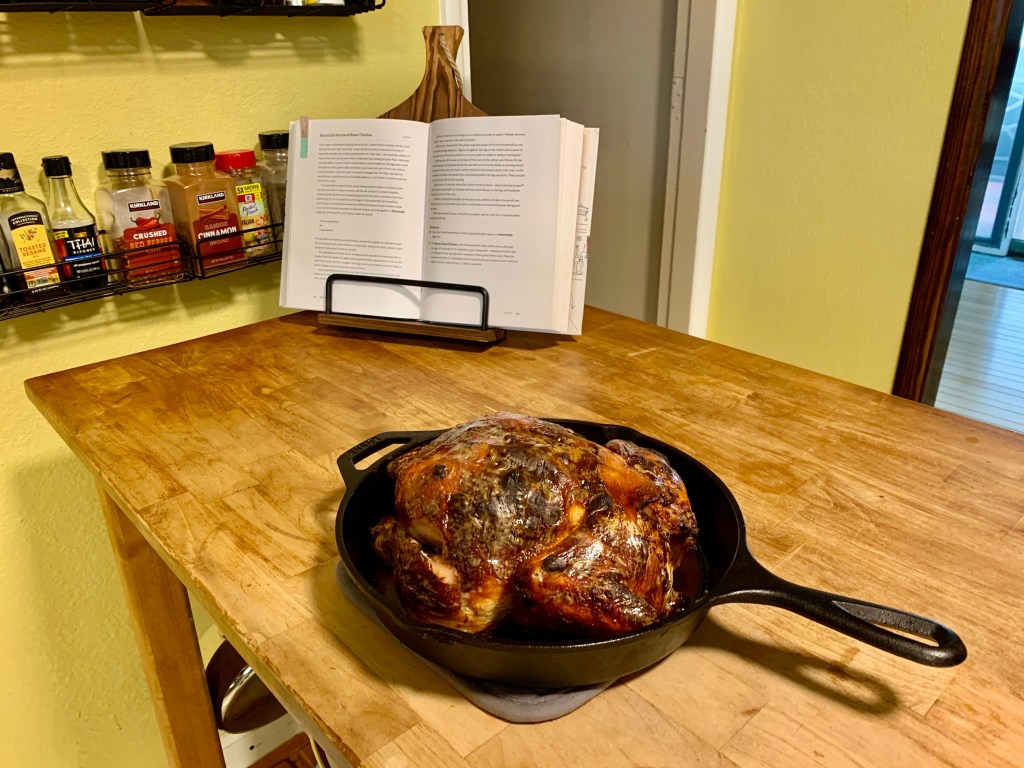
- Now turn the pan in the oven to where the chicken legs are facing the back right corner (and the breast still points toward the center of the oven). Continue cooking for 30 minutes or so more. You will know it’s ready when you can insert a knife between the leg and the thigh, and the juices are clear. I like to err on the side of caution and poke it in several spots with a meat thermometer until the internal temperature reads 160°F, because I hate taking the meat off the cooked chicken and finding red spots near the bones that didn’t get cooked enough. Chicken should reach an internal temperature of 165°F before being eaten, but the temperature will continue to rise after you remove it from the oven. Let it rest for about 10 minutes before carving.
- Remove all meat from the bones and serve it with a side or two (or whatever you like to do with your roast chicken). Save the bones and carcass in a gallon ziploc bag in the freezer for making stock.

Making Chicken Stock in the Slow Cooker
*based on Melissa K. Norris’ recipe for chicken stock in the book Hand Made: The Modern Guide to Made-From-Scratch Living
Steps:
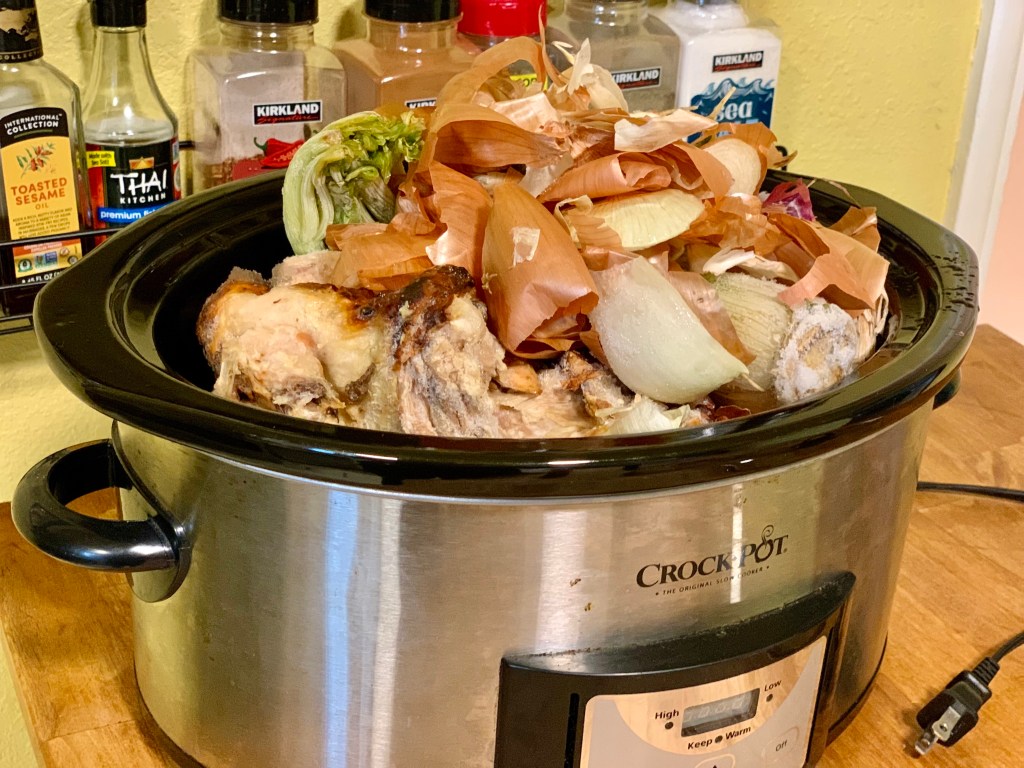
*I keep the chicken carcass after roasting a chicken in gallon-sized ziploc bags in my freezer. I also keep ziploc bags with vegetable scraps with onion skins, carrot ends, and whatever vegetable scrips I cut up and would otherwise be composting or discarding (unless moldy or inedible).
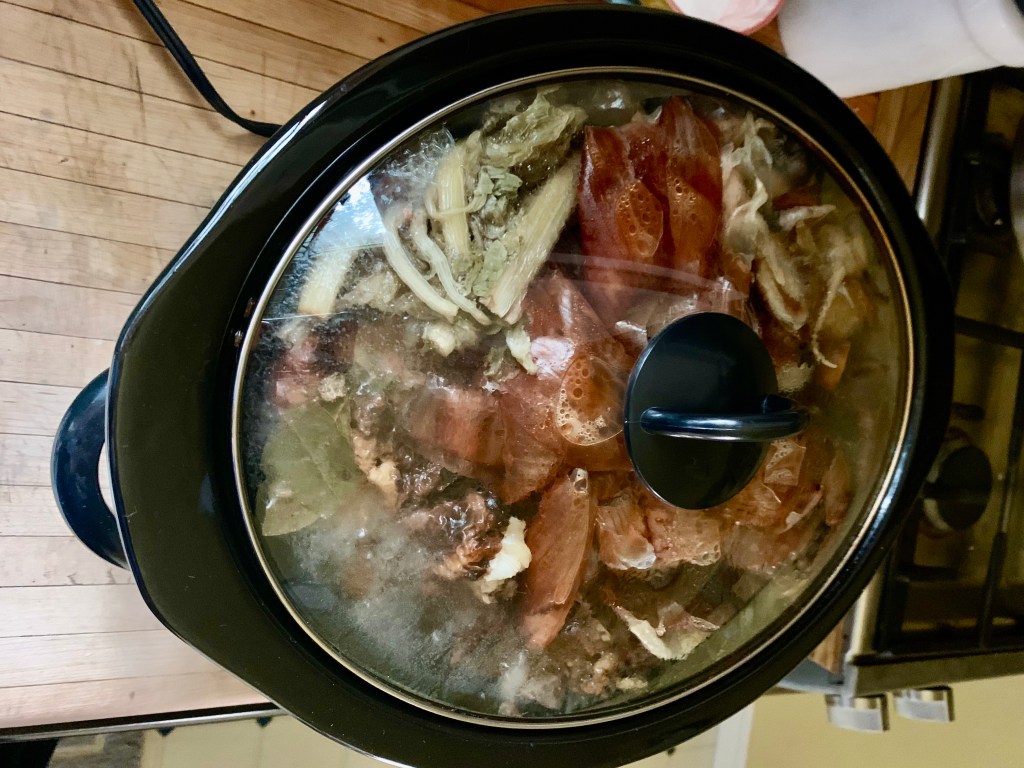
- Put frozen chicken carcass and contents of a bag of vegetable scraps in a slow cooker.
- Add a sprinkling of whole peppercorns, a bay leaf or two, and 1/4 cup of apple cider vinegar. Let sit for 15-20 minutes.
- Add water until contents are completely (or at least mostly) submerged.
- Add herbs (or whatever seasonings you want).
- Put the lid on, and set the temperature on the slow cooker to high until it starts to simmer. Keep it at a simmer for ~30 minutes and then reduce to a low temperature and let it simmer for up to 12 hours (I usually start the process mid-day and let it go overnight).
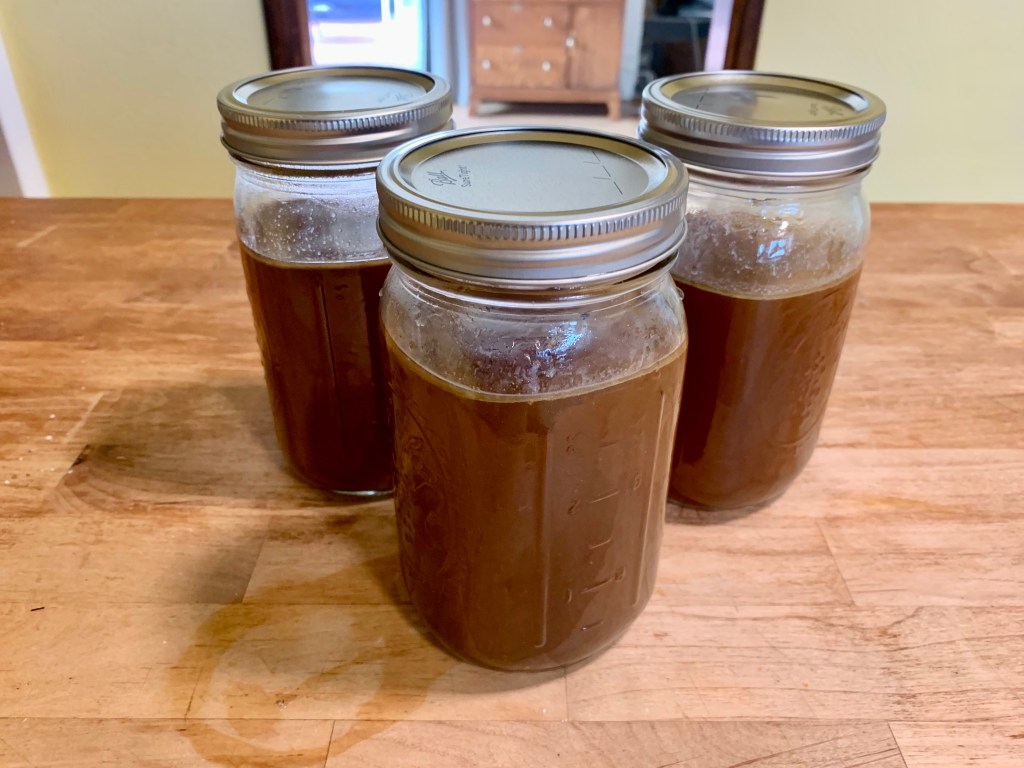
- Pour (or scoop, if you have weak wrists like me and struggle with lifting the heavy pot) through a strainer and into a storage container.
- Freeze or refrigerate the broth (for up to 2-3 days). I usually try to make broth a day or two before I plan to make a soup recipe. The flavor of homemade broth is vastly more rich and deep than store-bought broth (in my opinion).
That’s it! We’ve now gone from making our own yogurt to making our own broth (while roasting a chicken marinated in the yogurt) in between. This complete process is something I might doing over a few days. I like the idea of making more things from scratch, but sometimes it’s hard to get into a good flow and integrate it into a schedule in a manageable way. This is one of the few current examples I have of having a system for doing this. Hopefully, it can help someone else!
